Finding Your Flow: A Beginner's Approach to Fat-Burning Yoga
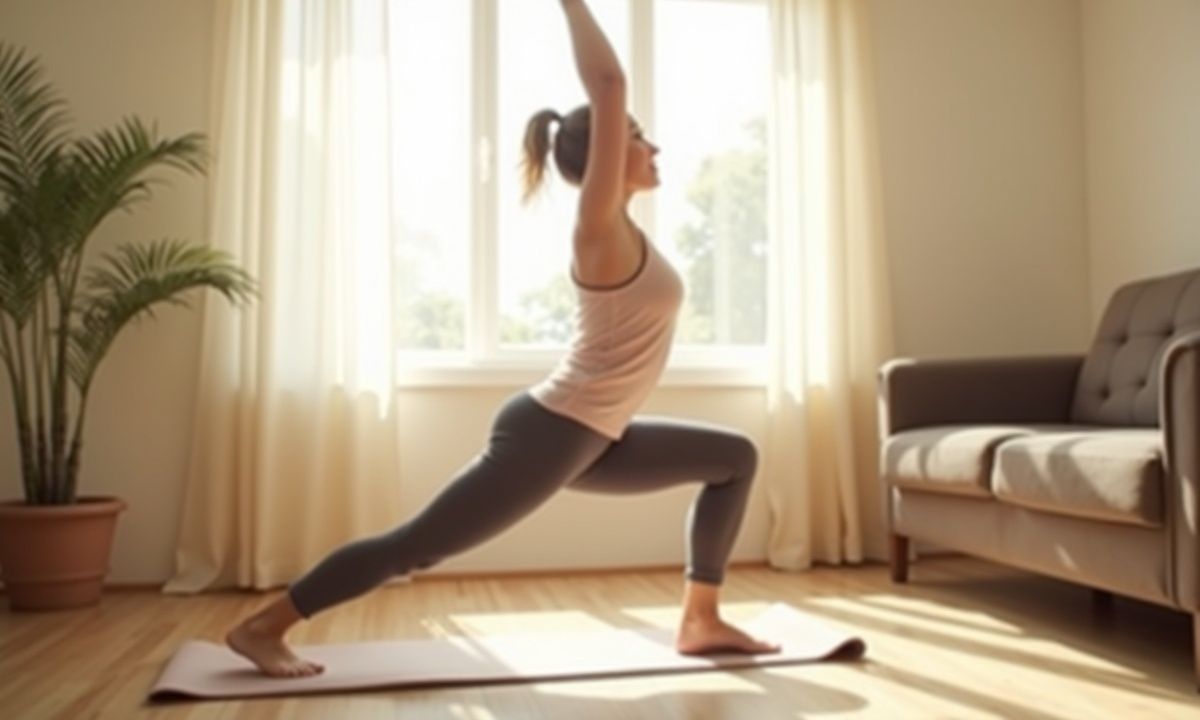
Picture this: it's early morning, the sun is just beginning to rise, and you roll out your yoga mat, ready to embrace a 20-minute fat-burning yoga routine. The world feels quiet; it’s just you, your breath, and the gentle flow of movement. Yoga is often seen as a practice for flexibility and relaxation, but it can also be a fantastic way to torch calories and build strength, even for beginners. This 20-minute fat-burning yoga routine offers an accessible yet effective way to kickstart your day or wind down after a long one.
The Basics of Fat-Burning Yoga
Yoga isn't just about striking a pose; it's about engaging your body in a way that can promote fat loss. While traditional yoga may not have the same heart-pounding intensity as a HIIT workout, it can still be energizing and beneficial for those looking to shed a few pounds. The key lies in how you approach your practice. By incorporating dynamic movements and focusing on your breath, you can turn a gentle flow into a calorie-burning session.
For beginners, the idea of yoga can be intimidating. However, it’s important to remember that everyone starts somewhere. You don’t need to be flexible or have prior experience to enjoy the benefits. As you navigate through the poses, listen to your body, and take breaks when needed. This is your practice, and it should feel good.
Your 20-Minute Routine
Let’s get into the routine itself. This sequence will combine strength-building poses with flowing transitions to keep your heart rate up. Make sure to have a mat and some comfortable clothing. Here’s how to get started:
1. Sun Salutations (3 minutes)
Begin with a few rounds of Sun Salutations. Stand at the front of your mat, feet together. Inhale, raise your arms overhead, and exhale as you fold forward into a Forward Bend. Step back into a Plank, then lower down into a Chaturanga. Inhale into Upward Facing Dog, and exhale into Downward Facing Dog. Hold each pose for a few breaths, and repeat this sequence three times. This flow warms up the body, stretches out muscles, and elevates the heart rate.
2. Warrior Series (5 minutes)
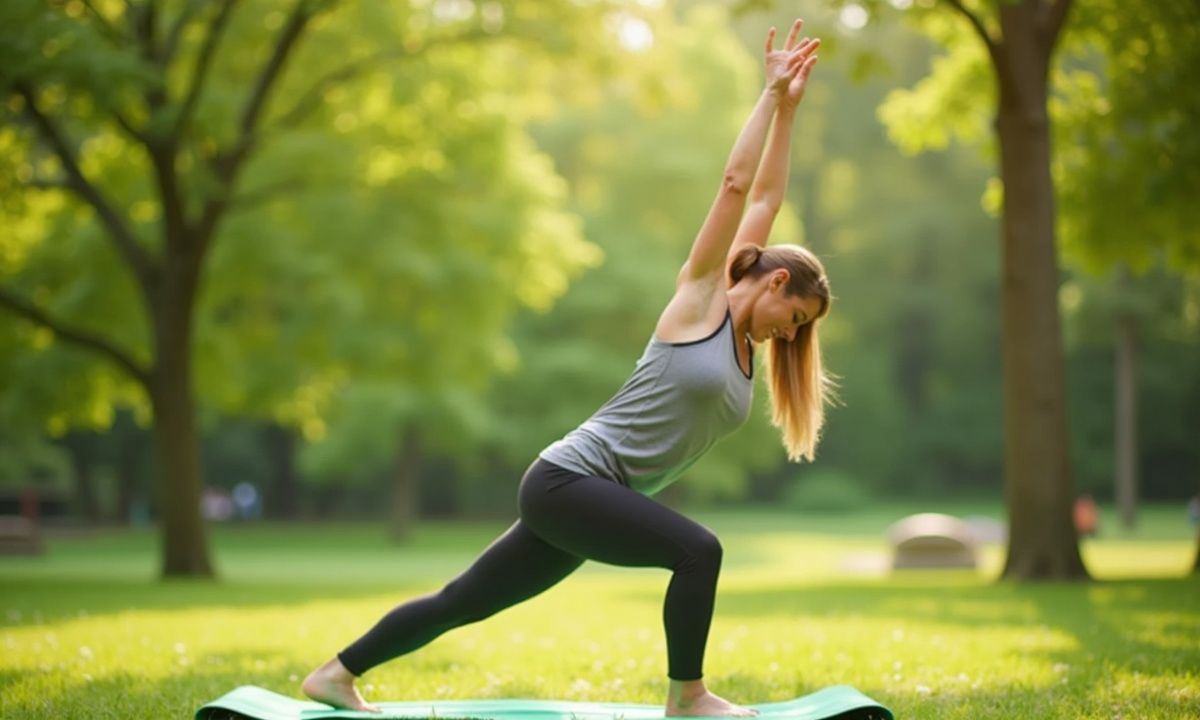
Transition into the Warrior series. Start in Downward Facing Dog. Step your right foot forward into Warrior I, arms overhead. Open into Warrior II, gazing over your right hand, and then move into Reverse Warrior by placing your left hand on your left leg and reaching your right arm overhead. Flow between these poses, holding each for about 30 seconds before switching sides. This series builds strength in the legs and core while also improving stamina.
3. Chair Pose (2 minutes)
From the standing position, sink into Chair Pose. Imagine sitting back into an invisible chair, arms reaching overhead. Hold this pose for 30 seconds to a minute. Chair Pose engages the thighs and glutes, making it a great addition to any fat-burning routine.
4. Plank to Side Plank (3 minutes)
Move into Plank Pose, ensuring your body is in a straight line from head to heels. Hold for 30 seconds, then transition into Side Plank by shifting your weight onto your right hand and stacking your feet. Hold for 30 seconds, then switch sides. This combination not only strengthens your core but also challenges your balance.
5. Bridge Pose (3 minutes)
Lie on your back with your knees bent and feet flat on the mat. Press through your heels to lift your hips into Bridge Pose, engaging your glutes and core. Hold for 30 seconds, then lower back down. Repeat for three rounds. This pose contributes to lower body strength and can help in toning.
6. Seated Forward Bend (2 minutes)
Transition to a seated position with your legs extended. Inhale, reaching your arms overhead, and exhale as you fold forward over your legs. This pose stretches the hamstrings and lower back while promoting relaxation. Hold for a minute, breathing deeply.
7. Savasana (2 minutes)
Finish your routine with Savasana, or Corpse Pose. Lie flat on your back, arms at your sides, and allow your body to relax completely. This is a crucial part of any yoga practice, allowing your body to integrate the benefits of your movements. Stay here for at least two minutes.
Mindful Movement and Breath
While performing this 20-minute fat-burning yoga routine, it’s essential to focus on your breath. Deep, controlled breathing can help you maintain endurance and awareness throughout the practice. Inhale deeply through your nose, filling your lungs, and exhale slowly through your mouth. This connection between movement and breath not only enhances the physical practice but also cultivates a sense of mindfulness.

Hairstyles After 60: Youthful Haircuts Professionals Recommend to Ditch Outdated Looks Instantly
Many people find yoga to be a great way to relieve stress and anxiety. Incorporating a fat-burning aspect into your practice can make it even more rewarding. For those who are new to yoga, check out our article on 8 Yoga Poses That Feel Restorative Even If You Aren't Flexible to ease into your practice.
Making Yoga a Habit
To really see the benefits of this routine, consistency is key. Aim to practice this 20-minute fat-burning yoga at least three to four times a week. As you grow more comfortable, you can begin to explore more challenging poses or longer sessions. Remember, yoga is a personal journey, and everyone progresses at their own pace.
Consider pairing your yoga practice with other forms of exercise for more comprehensive fitness. Activities like walking, cycling, or swimming can complement your yoga and help in achieving your fitness goals.
Closing Thoughts
Embracing a 20-minute fat-burning yoga routine at home can be a delightful way to kickstart your journey toward better health. It’s not just about burning calories; it’s about nurturing your body and mind. Whether you’re a seasoned yogi or just starting, this practice can adapt to your needs. For more insights into yoga, you might find our piece on Yoga Poses for Deep Hip Stiffness and Tight Joints helpful. Remember, the path to wellness is a marathon, not a sprint. Enjoy each moment on your mat.


Comments (0)
No comments yet. Be the first to comment!
Leave a Comment