In the world of beauty routines, at-home eyebrow tinting is gaining traction among those who prefer to save time and money without sacrificing style. Picture this: you wake up, and instead of spending precious minutes filling in your brows, you effortlessly achieve that polished look with just a hint of color. For many, the allure of soft defined brows that enhance facial features without the daily maintenance is hard to resist. But how does one embark on this journey of at-home eyebrow tinting? The process may seem daunting, but with the right steps, it can be surprisingly straightforward.
Choosing the Right Products
The first step in your eyebrow tinting adventure involves selecting the right products. Numerous brands offer tinting kits designed specifically for eyebrows, featuring everything from color to application tools. When choosing a product, consider your natural brow color and the desired shade. A good rule of thumb is to select a tint that is one or two shades lighter or darker than your natural brows. This balance ensures that your brows look natural yet defined.

Amazon Rainforest: 7.5-Metre Giant Anaconda Found During Will Smith Documentary Sparks Global Buzz
Before purchasing, take a moment to read reviews and check the ingredients. Many people are sensitive to certain chemicals, so opting for a brand that uses safe, gentle products is wise. Look for tints that contain natural ingredients, which can be less irritating and more nourishing for your skin.
Preparing for Tinting
Prior to applying the tint, it’s essential to prepare your skin and brows. Cleanse the area around your eyebrows thoroughly to remove any makeup or oils that could interfere with the tint. A gentle exfoliation is also beneficial, as it helps to remove dead skin cells, allowing for an even application. Make sure to patch test the tint on a small area of your skin 48 hours before application to ensure you don’t have an allergic reaction.

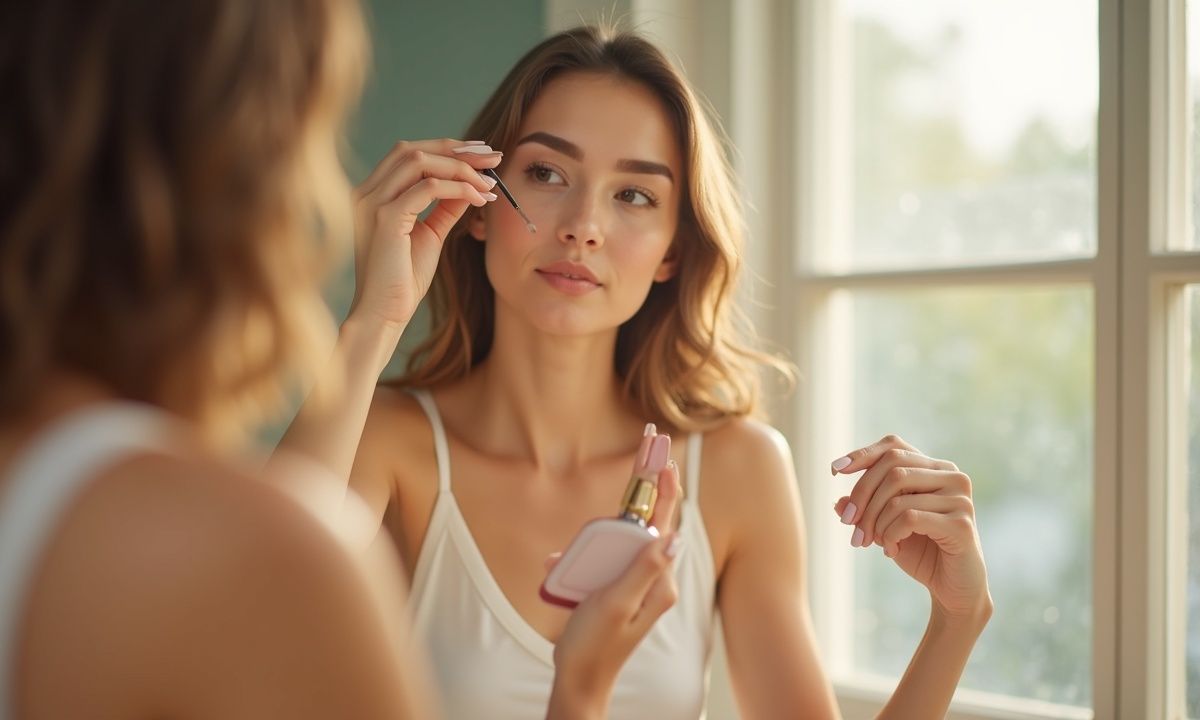
Gather your supplies: the tint, a small mixing bowl, an applicator brush, and cotton swabs. Having everything on hand makes the process smoother and more enjoyable.
Step-by-Step Tinting Process
Step 1: Mix the Tint
Once you’re ready, start by mixing the tint according to the package instructions. Usually, this involves combining the dye and developer in the mixing bowl. Follow the recommended ratios carefully, as getting the mixture right is crucial for achieving the desired color.
Step 2: Apply Petroleum Jelly
To prevent staining your skin, apply a thin layer of petroleum jelly around your eyebrows. This barrier will help keep the tint where it belongs. It’s a simple yet effective step that can save you from post-tint cleanup.
Step 3: Apply the Tint
Using the applicator brush, carefully apply the tint to your eyebrows. Start at the inner corner and work your way outwards, ensuring you coat each hair evenly. Take your time; rushing can lead to uneven color or accidental staining. If you accidentally get tint on your skin, quickly wipe it away with a damp cotton swab.
Step 4: Wait
After application, allow the tint to process for the time indicated on the packaging, usually between 10 to 20 minutes. This waiting period is crucial for the color to develop fully. Use this time to relax and maybe even catch up on your favorite show.
Step 5: Rinse and Clean Up
Once the time is up, rinse the tint off thoroughly with lukewarm water. Avoid using soap or other products during the rinse to ensure that the tint sets properly. After rinsing, gently pat your brows dry with a clean towel.
Aftercare and Maintenance
Post-tinting, it’s essential to care for your brows to maintain the color and health of the hair. Avoid excessive exposure to sunlight and harsh skincare products for the first few days after tinting. Regularly conditioning your brows with natural oils can help keep them soft and healthy. Additionally, be mindful of how often you tint your eyebrows. Every 4 to 6 weeks is generally a good rule, but this can vary based on your hair growth and personal preference.
For those looking to complement their newly tinted brows, consider trying out a homemade eyebrow gel. We previously discussed Homemade Eyebrow Gel with Aloe and Cocoa Creates Soft, Natural Hold, which works wonders for setting your brows in place while maintaining a soft look.
Common Mistakes to Avoid
Even the most seasoned beauty enthusiasts can make mistakes when tinting at home. One common error is choosing a shade that is too dark, which can give a harsh appearance. Always err on the side of caution by selecting a lighter shade first. Another mistake is not allowing enough processing time for the tint to develop. Each brand has specific instructions, so following them closely is essential for achieving the best results.
Additionally, ensure that you apply the tint evenly. Uneven application can lead to patchy results that may require correction. If you’re unsure, practice on a small area first before applying to your entire brow.
Conclusion
At-home eyebrow tinting can be a rewarding experience when done correctly. Not only does it save time in your daily routine, but it also allows for a customized look that can enhance your features naturally. With the right products, a careful application process, and a touch of patience, you can achieve soft defined brows that complement your overall style. Whether you're getting ready for a special occasion or simply want to feel more put together, eyebrow tinting can be a simple yet effective solution. Ready to give it a try? Start with the basics, and you'll be on your way to mastering this beauty trend.


Comments (0)
No comments yet. Be the first to comment!
Leave a Comment