Many of us have admired the effortlessly bold brows of celebrities and influencers, wondering how to achieve fuller, thicker brows at home. While brow trends come and go, the desire for naturally full brows persists. The rise of brow lamination has made this goal more attainable for those willing to experiment at home. This technique, often found in salons, can now be done with a few simple tools and products, allowing individuals to shape their brows into a fuller, more defined silhouette.
Understanding Brow Lamination
Brow lamination is essentially a perm for your eyebrows. It involves a chemical solution that straightens the brow hairs, allowing them to be brushed into a desired shape. This treatment can create the illusion of thicker, fuller brows by lifting and setting the hairs in place. Unlike microblading, which involves depositing pigment into the skin, lamination works with your natural hair, enhancing what you already have.
For those considering this technique, it's essential to understand the process. The treatment typically consists of three main steps: applying a lifting solution, neutralizing the hairs, and finally setting them with a nourishing serum. At-home kits are available, making it easier than ever to achieve the look without a salon visit. However, caution is key; improper application can lead to damage.
Gathering Your Supplies
To successfully perform brow lamination at home, you will need a few essential items. Most importantly, look for a reliable brow lamination kit, which should include all necessary solutions for the procedure. In addition, you'll need a spoolie brush, a small applicator brush, and a setting gel or serum. Don't forget to gather cotton pads and a gentle cleanser to prepare your brows before starting.

Choosing a quality kit is crucial. Brands often vary in composition and effectiveness, so research reviews and opt for one with positive feedback. Always perform a patch test to ensure no allergic reactions occur, as the chemicals involved can be potent.
The Lamination Process
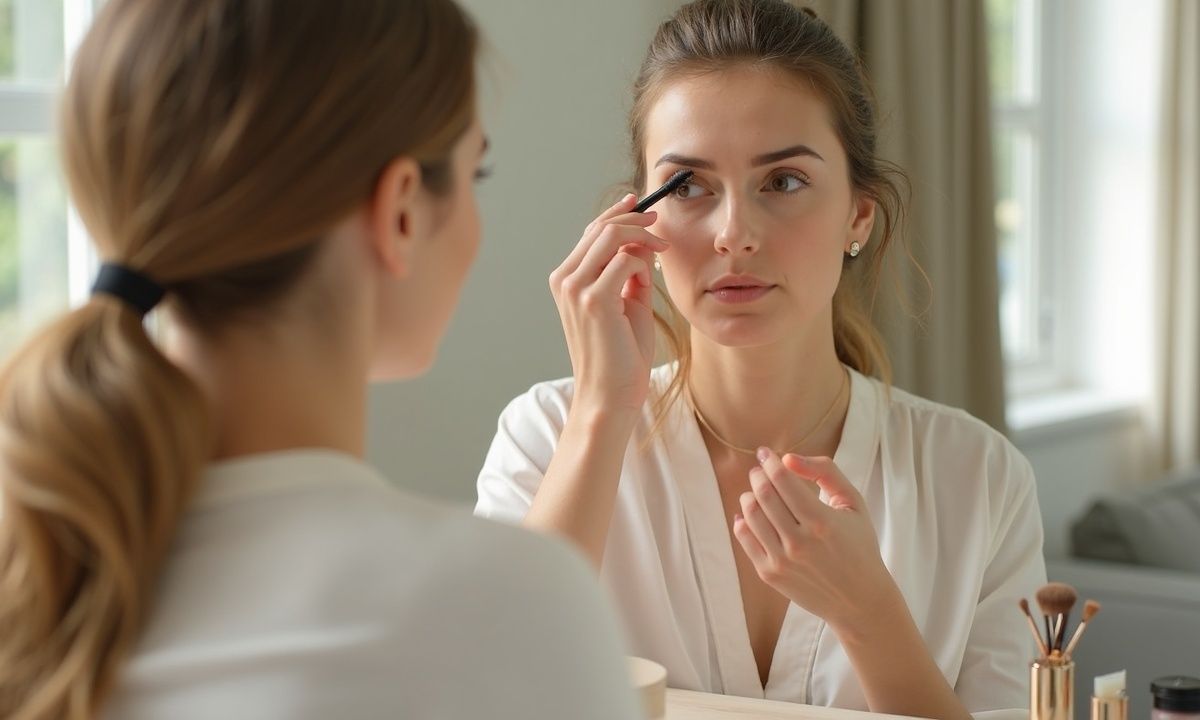
Once you have your supplies ready, it's time to dive into the lamination process. First, cleanse your brows thoroughly to remove any makeup, oils, or residue. This step is vital for ensuring the solutions work effectively. After cleansing, brush your brow hairs upward with a spoolie to see their natural growth pattern.
Next, carefully apply the lifting solution from your kit using a small applicator brush, ensuring that all hairs are coated. Once applied, cover your brows with plastic wrap to keep the solution from drying too quickly. The recommended processing time typically ranges from 10 to 15 minutes, but always refer to the instructions provided with your kit.
After the time has elapsed, remove the plastic wrap and gently wipe away the solution with a damp cotton pad. Follow this by applying the neutralizing solution, which sets the shape of your brows. Again, cover with plastic wrap and let it sit for the time indicated in your kit. Rinse off once done.
Finishing Touches
The final step involves applying a nourishing serum to condition your brows. This is crucial for maintaining healthy hair and ensuring that your brows stay looking their best. After the lamination, avoid getting your brows wet for at least 24 hours. This helps to set the lamination and ensures longevity.
Many people find the results to be immediate and satisfying. With brows brushed into an ideal shape and set into place, the appearance of fullness can be quite striking. Those who have sparse or unruly brows may particularly benefit from this technique.
Maintaining Your Lamination
After achieving those fuller, thicker brows, maintaining the look is essential. Regular brushing with a spoolie can help keep hairs in place. Additionally, using a brow oil or serum can promote healthy growth and keep the hairs conditioned. Avoid harsh products that could strip your brows of moisture or damage the hair.
As with any beauty regimen, the longevity of your results will depend on your hair type and the care you give them. Typically, lamination can last anywhere from four to six weeks, after which you may want to repeat the process. Listening to your brows and understanding their needs can make a significant difference in the outcome.
Common Mistakes to Avoid
When trying brow lamination at home, there are a few common pitfalls to watch for. One mistake is over-processing the hairs, which can lead to brittleness or breakage. Always follow the recommended timing closely. Another mistake is neglecting to patch test before application. Allergic reactions, while rare, can occur, and it’s better to be safe than sorry.
Additionally, using the wrong products can compromise the integrity of your brows. Stick to the solutions provided in your kit, and avoid substituting with other chemicals that could cause damage. For those looking for a more natural approach, consider researching homemade alternatives or gentler methods of brow styling.
Why Brow Lamination Matters
In a world where self-expression through beauty routines has become increasingly popular, brow lamination offers a way to enhance one’s natural features. Having fuller, thicker brows can boost confidence, often completing a makeup look without much effort. It’s a simple solution that can yield satisfying results, allowing individuals to feel more put together with minimal daily maintenance.
As beauty trends continue to evolve, brow lamination stands out for its accessibility. Whether you're preparing for a special occasion or simply want to feel good about your everyday look, this technique can be a valuable addition to your beauty toolkit. For more details on related beauty practices, check out our article on 6 Lip Tints That Provide a Soft Natural Finish Perfect for Daily Makeup Wear.
Ultimately, achieving fuller, thicker brows at home is possible with the right tools and techniques. As you embark on your brow lamination journey, remember to enjoy the process and embrace the beauty of your unique brows.


Comments (0)
No comments yet. Be the first to comment!
Leave a Comment